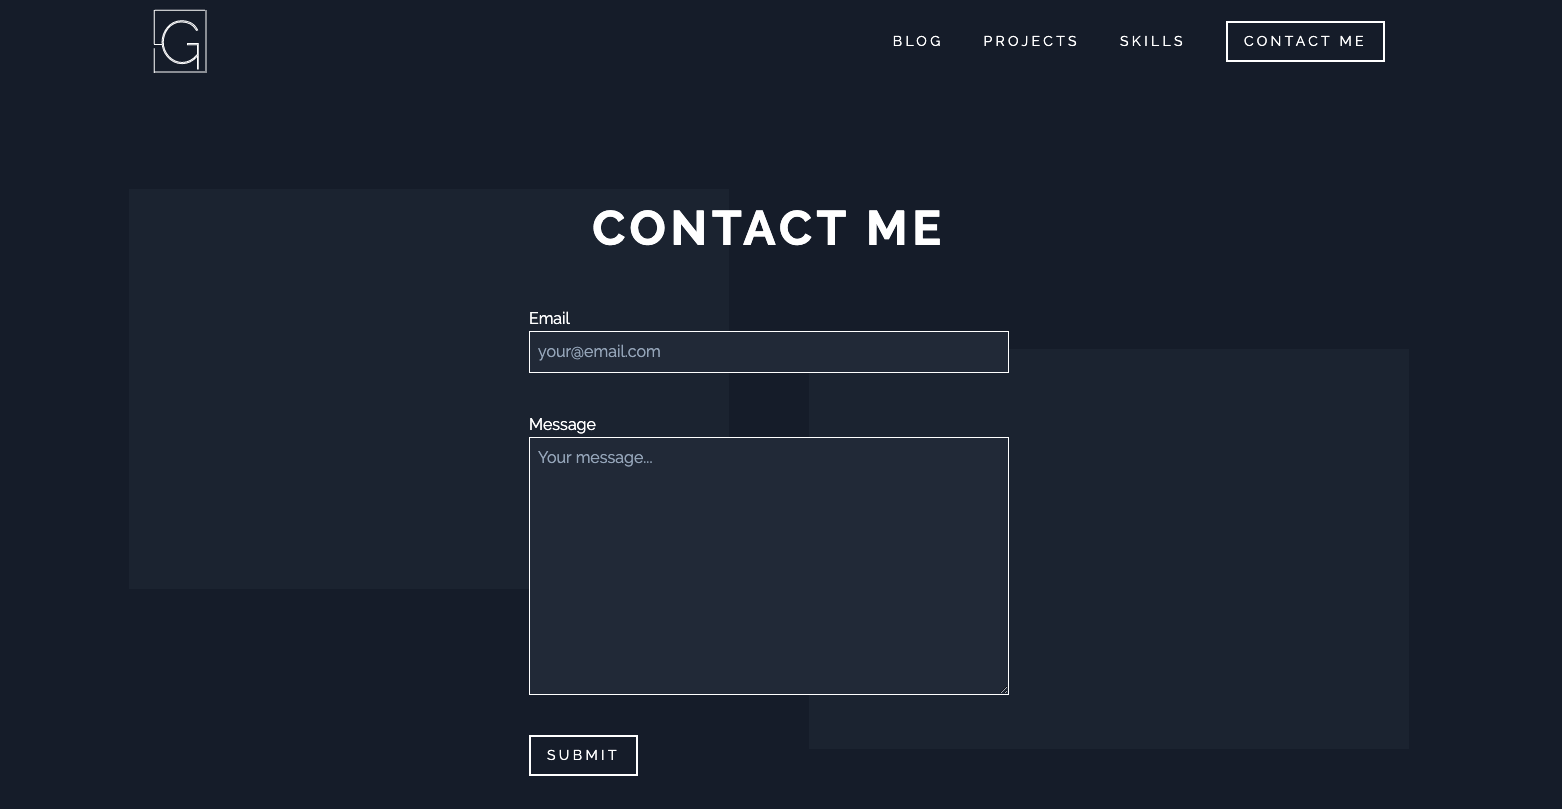
When I decided to code my personal website, I wanted to add a contact me form. While this is an easy thing in Next.JS, there are certain things that you need to know. So, let's get started:
Create a Contact Me page
Inside pages directory, add a new file called contact-me.js, remember that Next.JS will create a route to /contact-me
automatically. Inside the page, you need to add your form, in my case:
import React, { useState } from 'react';
import Meta from '../components/meta';
import Head from 'next/head';
import { APP_NAME } from '../lib/constants';
import Navbar from '../components/navbar';
import Footer from '../components/footer';

export default () => {
    const [status, setStatus] = useState({
        submitted: false,
        submitting: false,
        info: { error: false, msg: null },
    });

    const [inputs, setInputs] = useState({
        email: '',
        message: '',
    });

    const handleResponse = (status, msg) => {
        if (status === 200) {
            setStatus({
                submitted: true,
                submitting: false,
                info: { error: false, msg: msg },
            });
            setInputs({
                email: '',
                message: '',
            });
        } else {
            setStatus({
                info: { error: true, msg: msg },
            });
        }
    };

    const handleOnChange = (e) => {
        e.persist();
        setInputs((prev) => ({
            ...prev,
            [e.target.id]: e.target.value,
        }));
        setStatus({
            submitted: false,
            submitting: false,
            info: { error: false, msg: null },
        });
    };

    const handleOnSubmit = async (e) => {
        e.preventDefault();
        setStatus((prevStatus) => ({ ...prevStatus, submitting: true }));
        const res = await fetch('/api/send', {
            method: 'POST',
            headers: {
                'Content-Type': 'application/json',
            },
            body: JSON.stringify(inputs),
        });
        const text = await res.text();
        handleResponse(res.status, text);
    };

    return (
        <>
            <Meta />
            <Head>
                <title>Contact Me | {APP_NAME}</title>
            </Head>
            <div className="relative overflow-hidden text-white mx-auto max-w-screen-xl">
                <div className="relative z-10">
                    <Navbar />
                </div>

                <div
                    className="hidden absolute z-0 bg-gray-800 opacity-50 transform lg:block"
                    style={{
                        height: '400px',
                        width: '600px',
                    }}
                />

                <div
                    className="hidden absolute z-0 right-0 bg-gray-800 opacity-50 transform translate-y-40 lg:block"
                    style={{
                        height: '400px',
                        width: '600px',
                    }}
                />

                <form
                    onSubmit={handleOnSubmit}
                    className="relative w-full px-4 mx-auto max-w-lg"
                >
                    <h1 className="relative text-center font-light text-3xl leading-relaxed lg:text-5xl">
                        <span className="uppercase font-bold tracking-10">
                            Contact me
                        </span>
                    </h1>

                    <div className="mt-10">
                        <label htmlFor="email">Email</label>
                        <input
                            className="block w-full p-2 bg-gray-800 border border-white focus:outline-none"
                            id="email"
                            type="email"
                            onChange={handleOnChange}
                            required
                            placeholder="your@email.com"
                            value={inputs.email}
                        />
                    </div>
                    <div className="mt-10">
                        <label htmlFor="message">Message</label>
                        <textarea
                            className="block w-full p-2 bg-gray-800 border border-white focus:outline-none"
                            id="message"
                            onChange={handleOnChange}
                            required
                            rows="10"
                            value={inputs.message}
                            placeholder="Your message..."
                        />
                    </div>
                    <button
                        className="mt-10 py-2 px-4 border-2 border-white text-white uppercase text-sm tracking-24 bg-transparent hover:bg-white hover:text-gray-900 transition duration-150 ease-in-out"
                        type="submit"
                        disabled={status.submitting}
                    >
                        {!status.submitting
                            ? !status.submitted
                                ? 'Submit'
                                : 'Submitted'
                            : 'Submitting...'}
                    </button>
                    <div className="mt-4">
                        {status.info.error && (
                            <div className="error">
                                Error: {status.info.msg}
                            </div>
                        )}
                        {!status.info.error && status.info.msg && (
                            <div className="success">{status.info.msg}</div>
                        )}
                    </div>
                </form>
                <Footer />
            </div>
        </>
    );
};
Create a serverless function
Inside pages > api you will need to create a file called send.js. This will have a function to email you using SendGrid.
const sgMail = require('@sendgrid/mail');

export default async function (req, res) {
    sgMail.setApiKey(process.env.SENDGRID_API_KEY);

    const { email, message } = req.body;

    const content = {
        to: process.env.TO_EMAIL_ADDRESS,
        from: process.env.FROM_EMAIL_ADDRESS,
        subject: `New Message From - ${email}`,
        text: message,
        html: `<p>${message}</p>`,
    };

    try {
        await sgMail.send(content);
        res.status(200).send('Message sent successfully.');
    } catch (error) {
        console.log('ERROR', error);
        res.status(400).send('Message not sent.');
    }
}
as you can see, you need to add @sendgrid/mail library to send an API request to SendGrid. So, just run the next command:
yarn add @sendgrid/mail
In this case, as you want to receive an email when someone submits a message in your form, you will need to set a to and from email.
I saved this 2 variables in my .env file.
Configure an API key in SendGrid
Yo need to create a SendGrid account and add a sender authentication. I strongly recommend that you use Domain Authentication
with the same domain that you already have. Then, create a new API key following the guide from here.
Now, one important thing is that when you are verifying your connection with SendGrid, you use from email address with the
same domain as the domain that you configured in SendGrid. If your domain is example.com, your email address should be
something like noreply@example.com. If not, you will get a 403 response status, and it is really hard to debug this error 😖.
That's it! go ahead and deploy your website to Vercel, and remember to add the env variables in Vercel as well.
